INSTALLATION SERVICES
Architectural Product and Facade Installation Services
Site survey, sub-frame, lifting, fixing, sealing and handover for facade cladding, cornices, screens, vanity tops and architectural surfaces across Pakistan.
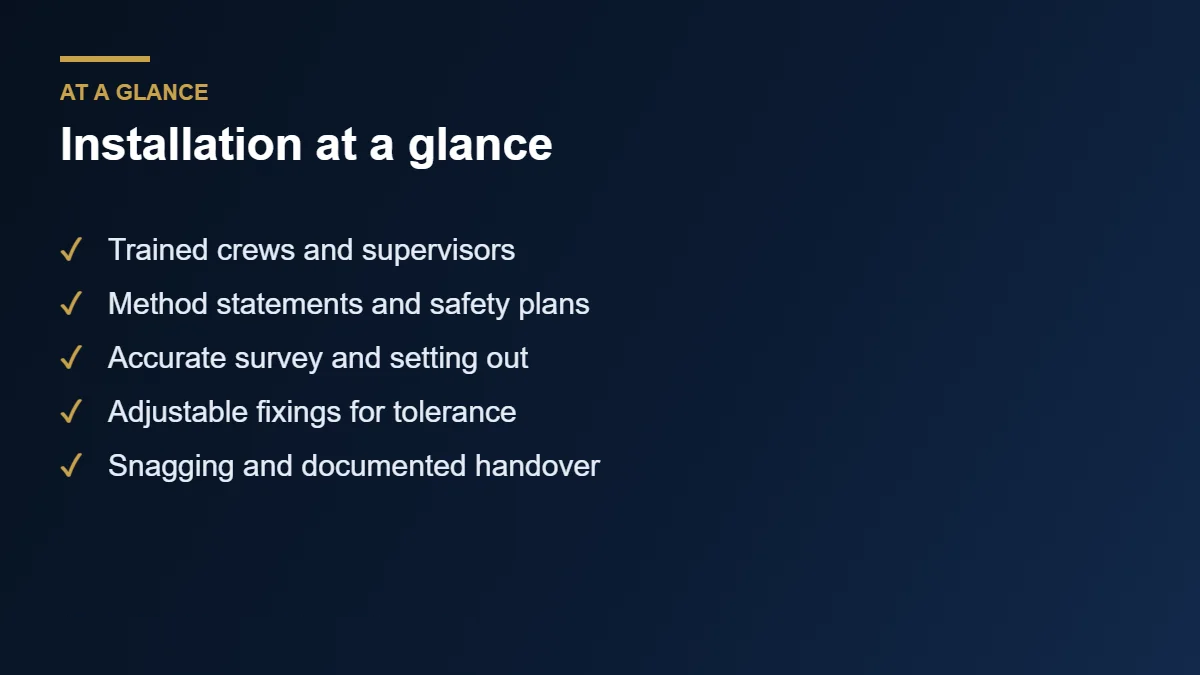
Installation at a glance
- Site survey and tolerance check
- Sub-frames, brackets and anchors
- Lifting, alignment and fixing
- Joint sealing and drainage detailing
- Inspection and handover
WHAT WE INSTALL
Facade and Architectural Product Installation
Installation is where drawings meet the real building. Walls are rarely perfectly plumb, openings vary and access is often tight, so a good installer spends as much time on surveying, setting out and sequencing as on fixing.
HB Design Driven installs the architectural products we manufacture: GFRC and GFRP cladding and cornices, architectural metal panels, screens and railings, and interior surfaces such as cast marble vanity tops, shower walls and countertops. Because the same team prepared the shop drawings, the people on site know why each fixing and joint was detailed the way it was.
Installation can be combined with manufacturing as a single package, or arranged separately for products we supply. Scope, access and responsibilities are confirmed in the quotation.
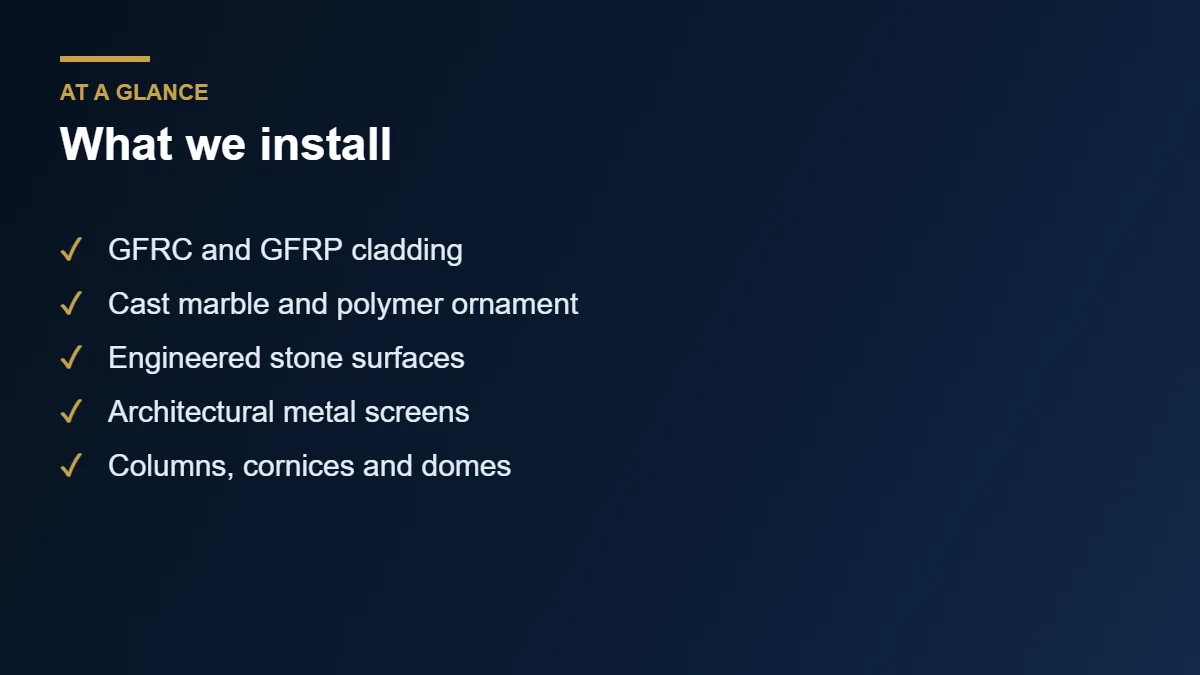
What we install
- GFRC and GFRP facade cladding
- Cornices, parapets and column covers
- Architectural metal panels and screens
- Railings and balustrades
- Vanity tops, shower walls and sills
- Countertops and wall panels
HOW INSTALLATION WORKS
Our Installation Process
A disciplined sequence keeps facades straight, joints even and programmes on track.
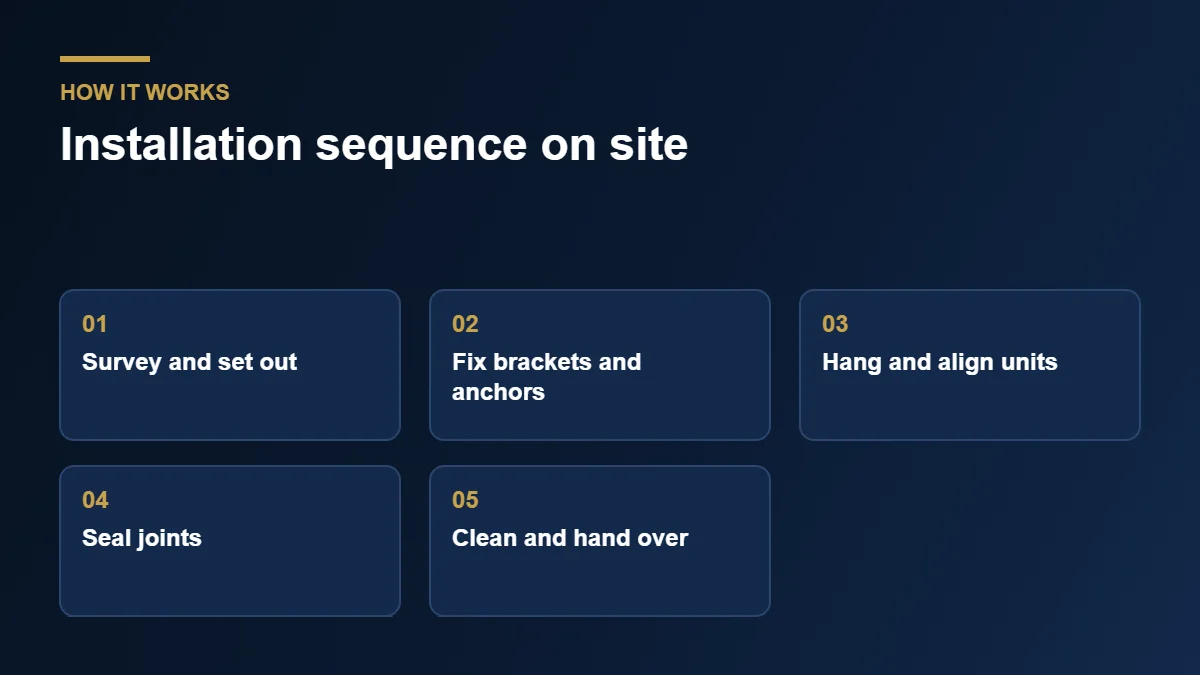
01
Site survey and tolerance check
The substrate is surveyed, levels and plumb are checked and tolerances confirmed before any fixing is set out.
02
Sub-frame installation
Vertical and horizontal members are fixed with adjustable brackets, aligned with lasers or string lines and checked for plumb.
03
Brackets and anchors
Cladding brackets and anchors are installed to the fixing schedule, with edge distances, embedment and torque verified.
04
Lifting and fixing
Panels are dry-fitted to confirm joint widths, then lifted and fixed mechanically with gravity supports and restraint anchors.
05
Joints, sealing and drainage
Movement joints are formed with backer rod and sealant, and drainage and ventilation paths are kept clear.
06
Inspection and handover
Alignment, joint widths, fixings and finish are inspected and the work is handed over with clear care guidance.
ENGINEERING DETAILS
Fixing, Movement and Drainage Done Properly
Good installation practice for cladding panels follows a few principles. Every panel is supported in bearing by a bracket or channel designed for the dead load, while wind loads are resisted by restraint connections that allow movement. Panels are never held by adhesive alone: they are fixed with brackets, anchors and restraint clips.
Concrete and cement-based cladding such as GFRC expands and contracts with temperature and moisture, so one fixed point locates each panel and the rest slide. Dissimilar metals are separated to prevent galvanic corrosion, and joints are wide enough to take movement.
Behind the cladding, a ventilated cavity lets rainwater drain and the wall dry out. Weep paths and baffles are kept unobstructed, and the cavity is never sealed completely.
Typical installation checks
- Substrate survey and tolerance confirmation
- Sub-frame plumb and level
- Anchor edge distance, embedment and torque
- Written fixing schedule by location
- Joint width and sealant depth
- Drainage paths clear and unobstructed
- Pull-out testing of anchors where specified
SITE COORDINATION
Planning Access, Lifting and Safety
The best installation plans are agreed before the first panel leaves the factory.
Access and lifting
We agree crane or hoist access, delivery windows and storage areas with your site team before dispatch, particularly for panels installed at height.
Sequence with other trades
Installation is planned around scaffolding, glazing, waterproofing and services so work areas are available when needed.
Safe working practice
Working at height, lifting and cutting call for method statements, protective equipment and trained crews, agreed with your site rules.
PRODUCTS
Installation for Every Product Type
Fixing methods vary by material, and we plan each one.
GFRC
GFRC and GFRP cladding
Stud-frame or aluminium sub-frames with flexible and gravity anchors.
METAL
Architectural metal
Sub-frames and hidden or exposed fixings with slotted connections for thermal movement.
INTERIORS
Cast marble and stone surfaces
Cabinet or bracket support, bonded joints and sealed perimeters for vanity tops, walls and counters.
Before Work Starts
Survey, Planning and Preparation
Good installation starts long before the first panel is lifted. A site survey records the real position of slabs, columns, openings and edges, and compares them with the drawings. Differences are common, so the survey sets the true grid for brackets and anchors. Without it, small errors accumulate across an elevation and produce visible misalignment that is difficult to correct later.
Method statements and risk assessments follow the survey. They describe how units will be unloaded, stored, lifted, fixed and sealed, and they identify hazards such as work at height, falling objects and crane operations. The main contractor reviews these documents so that access, scaffolding and hoisting arrangements are agreed before the crew arrives, which prevents delays on the day.
Delivery and storage are planned together. Units should arrive in the order they will be fixed, on padded supports, with protective wrapping intact. Storage areas must be flat, dry and shaded, away from vehicle traffic and wet trades. A short sequence plan helps the foreman call up the right pieces at the right time and avoids double handling.
Material checks take place on receipt. Installers compare labels with the drawing, inspect for transit damage and verify that fixing hardware is complete. Any issue is photographed and reported immediately, so the factory can respond while the programme still has float. This simple discipline protects the finish and keeps installation moving without interruption.
Substrate preparation is the final preparatory step. Concrete or steel frames are cleaned, marked and, where necessary, tested for anchor capacity. Embedded plates are checked against the survey, and any missing inserts are corrected before cladding begins. Thorough preparation costs little compared with the delay and rework caused by unexpected conditions discovered mid-installation.
Methods
Fixing Systems and Installation Techniques
Different products need different fixing methods. Lightweight panels are normally hung on stainless or galvanised brackets that allow three-dimensional adjustment, while heavier columns and cornices may be bedded on mortar, pinned and braced until cured. Metal screens are bolted to supporting frames, and decorative mouldings are bonded and mechanically restrained. The right method protects both safety and appearance.
Adjustment is the secret of a straight facade. Slotted brackets, shims and levelling screws let the crew align each unit in line, level and plumb, and bring joints to a consistent width. A string line and laser level guide the work, and measurements are checked frequently so that small deviations are corrected before they spread across the elevation.
Joints and sealants complete the weather barrier. Backer rod and flexible sealant are installed to the specified depth and width, tooled neatly and allowed to cure. Compatible primers ensure adhesion, and movement joints are positioned according to the engineer’s drawings. Poorly detailed joints are the most common cause of leaks, so installation crews give them close attention.
Cutting and adjustment on site should be minimal. Units are made to size at the factory, so the installer’s job is to place and secure them, not to modify them. When a change is unavoidable, it is agreed with the supervisor and recorded. Touch-up paint and filler are matched to the approved sample so that repairs disappear.
Quality checks occur throughout the work. Supervisors inspect bracket positions, torque on fixings, alignment tolerances and sealant quality, and sign off each bay before the crew moves on. Photographic records provide evidence for the client and the consultant, and any snags are listed and closed out promptly. This staged approach is a hallmark of professional installation.
Safety and Coordination
Working Safely Alongside Other Trades
Safety is the first rule on any site. Crews wear helmets, harnesses, gloves and eye protection, and work from approved scaffolding, cradles or access platforms. Lifting plans define exclusion zones, signal methods and load limits, and equipment is inspected before use. A tidy, well-organised work area protects people and finished surfaces alike.
Coordination with other trades keeps the programme moving. Glazing, roofing, waterproofing, electrical and mechanical contractors often work on the same elevation, so a weekly look-ahead meeting agrees who works where and when. Clear communication prevents clashes, avoids damage to finished work and reduces idle time for everyone involved.
Weather also affects installation. High winds can stop crane work, heavy rain interrupts sealing, and extreme heat influences adhesive and sealant curing. A flexible programme and a supply of protective sheeting allow the crew to adapt without compromising quality. Records of weather delays support fair adjustments to the schedule when they occur.
Tidiness and cleaning finish each work area. Packaging is removed, dust is washed from the surface and any sealant smears are cleaned before they harden. The final wash is performed with approved materials so the finish is not scratched. A clean, defect-free facade makes the best impression at handover.
For general reading on facade systems, the cladding article on Wikipedia offers a helpful introduction. To see how installation connects with production, visit our manufacturing page or the main services overview. You can also review the GFRC range or completed projects.
Handover
Snagging, Documentation and Aftercare
Snagging is a structured walk-through. The supervisor and the client or consultant inspect every elevation, record any imperfections and agree a time for correction. Items are photographed, assigned and closed one by one. A clear snagging process builds confidence and shortens the time between practical completion and final payment.
Handover documents explain what was installed and how to look after it. They typically include drawings, product data, colour references, cleaning instructions, warranty terms and contact details. Facilities managers value this package because it reduces guesswork and helps them schedule inspections and maintenance in the years after occupation.
Aftercare ensures problems are resolved quickly. If a joint opens, a unit is damaged or a finish fades unexpectedly, the client can call our team and arrange an inspection. Spare units and touch-up materials are kept when possible, which shortens repair time. When you are ready to plan your installation, contact HB Design Driven and we will help you prepare a realistic programme.
Common Challenges
Solving Typical Site Problems
Out-of-tolerance structures are the most frequent problem. Concrete frames are rarely perfect, and slab edges may vary by several centimetres along an elevation. Adjustable brackets and packing plates absorb this variation, but the crew must measure carefully and communicate any large deviation to the engineer. Early detection allows a design solution before units are fixed.
Access constraints also affect programmes. Narrow plots, busy roads and tight scaffolding require creative lifting arrangements, shorter units or night deliveries. A planning meeting with the contractor identifies the best approach, and our team prepares alternative methods in case the first plan is blocked by weather or neighbouring work.
Late design changes can disrupt the sequence. If a window moves or a parapet height changes after units are made, brackets and cut-outs may need revision. Quick decisions, accurate as-built drawings and a flexible crew help limit the impact. We record every change so that the final documentation reflects what was actually built.
Protection of finished surfaces needs constant attention. Scaffolding ties, welding sparks, cement splashes and paint overspray can all damage cladding, so films and covers are used until other trades complete their work. A simple rule applies: the cleaner the site, the faster and cheaper the final handover becomes.
Communication is the best remedy for every issue. Daily briefings, shared photographs and prompt answers to queries keep installation on track and prevent small misunderstandings from becoming expensive disputes between the contractor, consultant and supplier.
Why Choose Us
Why Clients Choose HB Design Driven
Clients choose us because we understand both the factory and the site. Our team knows how each product is made, how it behaves under load and how it should be fixed, so advice is practical rather than theoretical. This knowledge shortens learning curves and reduces the risk of misunderstandings between design and construction.
We also value punctuality and tidiness. Crews arrive prepared, follow the agreed programme and leave work areas clean. Supervisors report openly on progress and problems, and they respond quickly to requests from the main contractor. These simple habits earn trust and often lead to repeat work on later phases.
Our coverage extends across Pakistan, from Faisalabad and Lahore to Islamabad, Karachi, Multan and Peshawar. Whether your building is a small villa or a large commercial complex, we can provide supervision, labour or a complete package. Send your drawings through the contact page and we will prepare a scope and quotation tailored to your site.
Planning Tips
Practical Tips for a Smooth Programme
Appoint one coordinator on the client side who can approve changes quickly. Delays often arise when questions travel through several departments before an answer returns to the site. A single decision maker, supported by a clear drawing register, keeps the work moving and prevents conflicting instructions.
Confirm access and utilities early. Cranes, hoists, power, water and storage space should be arranged before the crew mobilises, and the site should be cleared of obstructions along the working edge. Small preparations like these save days, especially on tight urban plots where every hour of crane time is valuable.
Finally, keep a mock-up bay in view. A full-size sample installed early lets the architect, owner and contractor judge colour, joint width and detail quality before the full facade is built. Adjustments are far cheaper at this stage, and the approved bay becomes the benchmark for the rest of the work, giving everyone a shared target.
FAQ
Installation: Frequently Asked Questions
GET STARTED
Request an Installation Quote
Send your drawings, site details and programme and we will come back with a plan and price. Call +92 300 6685798 or email hbdesigndriven@gmail.com.